Custom Readers
Custom readers are configured on a per customer basis, if they are needed formultiple customers, you will need to go through the process below for each customer.
Before starting the process of creating a Custom Reader Format, you will need to know the following information about your chosen Wiegand reader and credentials:
- How many bits (the total length of the data output by the reader when a token is presented - 26, 32, 48, etc.)
- Do the tokens include a site code or facility code?
- If so, you will need to know where within the data the site code is positioned and how many bits it uses
- How much of the data is used for the 'user data' and where is it positioned within the whole packet
- Are any parity checks required?
tip
The supplier/manufacturer of your access control readers and credentials should be able to provide all the information required.
Once you have the above information you will need to log in to VOLO and follow process, below.
Instructions
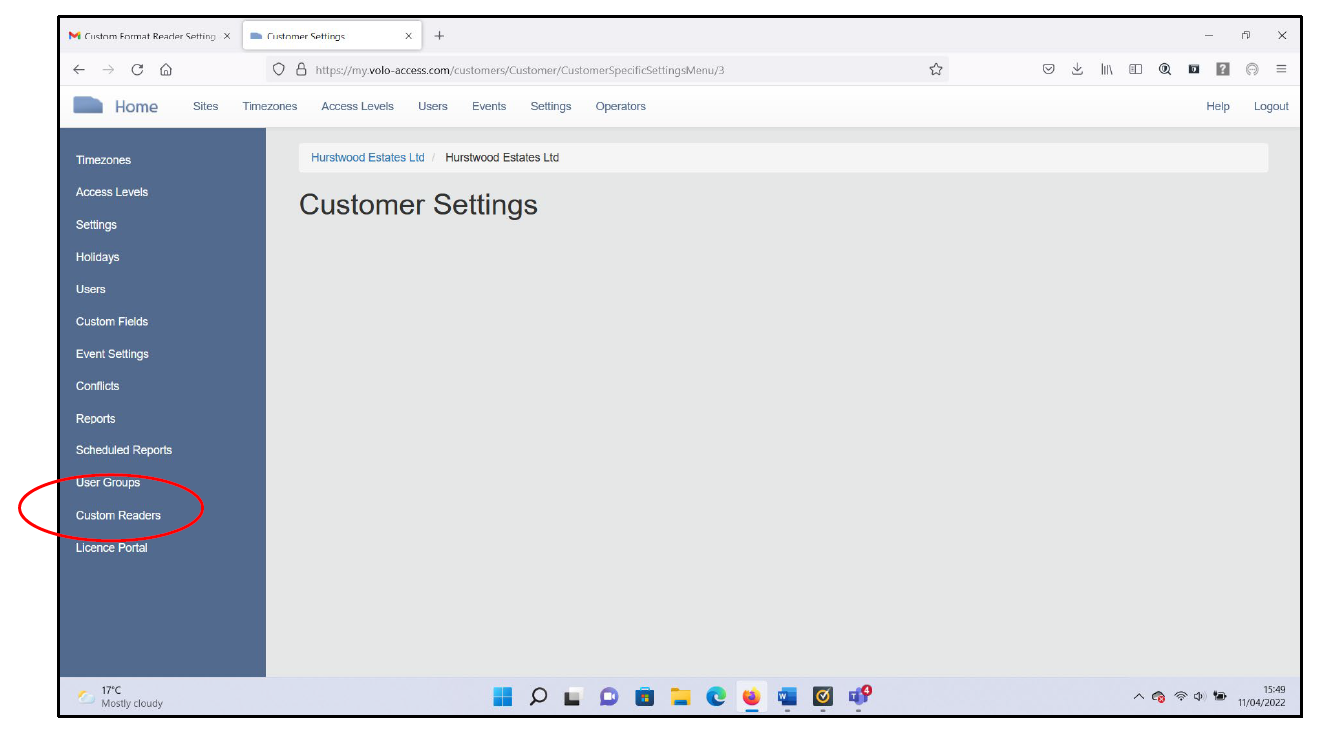
Once logged in, click on Settings at the top of the website.
note
If you are logged in as an installer and have not yet selected a customer, you might be prompted to select one, now
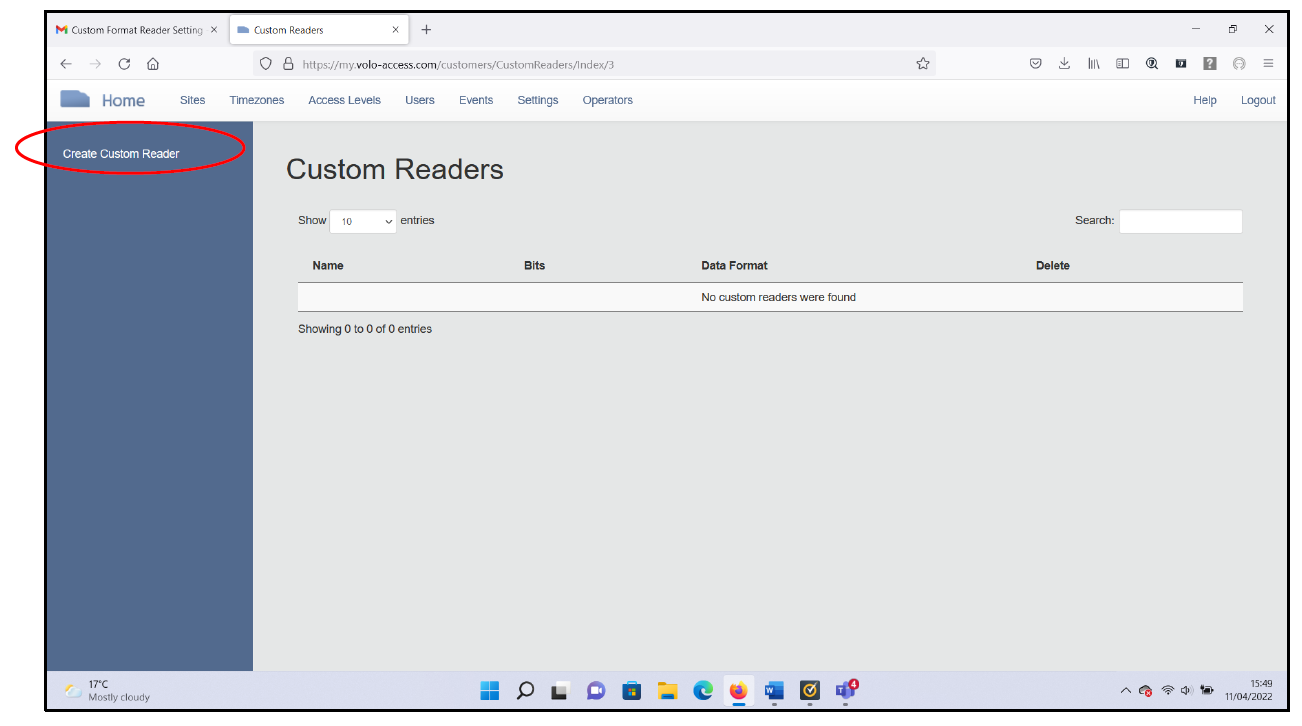
You should then click on 'Custom Readers' on the left-hand menu.
Then, click on the 'Create Custom Reader' link in the left-hand menu.
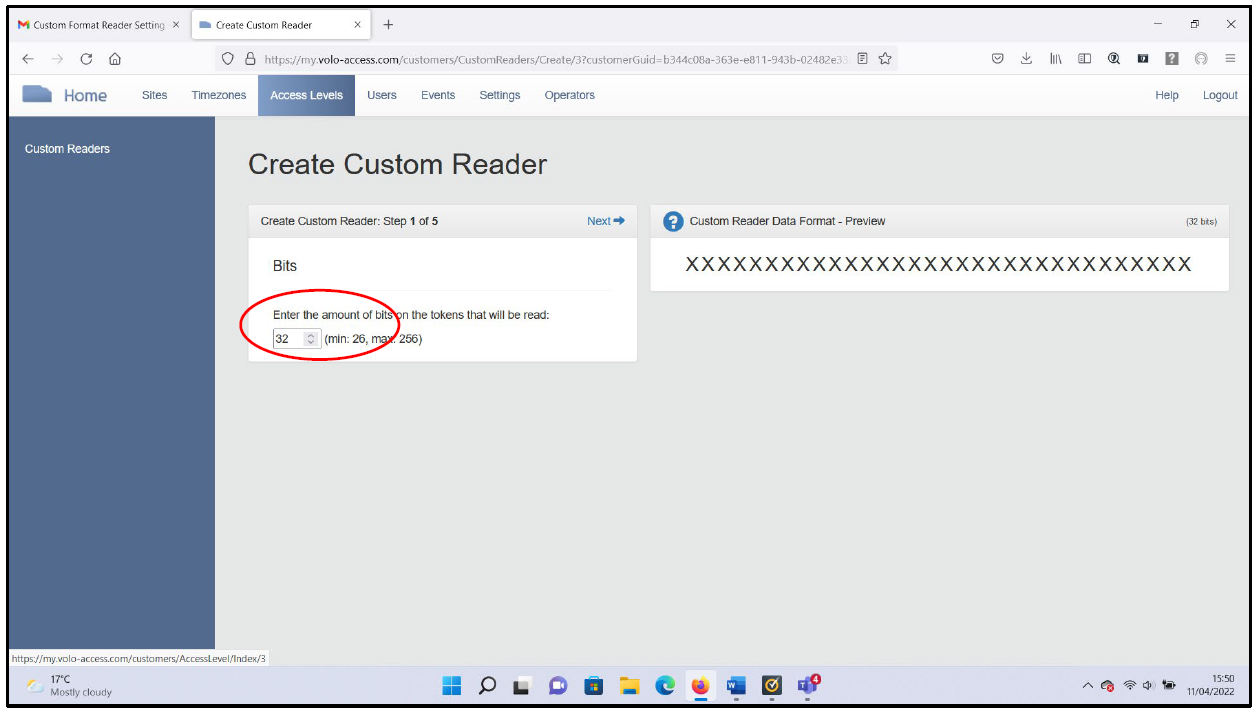
The first step of defining your custom reader is to specify the number of 'bits' the VOLO controller should expect from your reader and tokens.
Click 'Next' and you will then need to specify whether the tokens you are using include a site code in the data.
If the tokens do include a site code, you will need to specify:
- The expected site code
- The size and position of the site code data, within the token data
Click 'Next' and you will now need to specify the size and location of the user data, within the token data.
Click 'Next' and, finally, you will be asked to specify whether any parity checks are required and provide details.
Click 'Next' and you will be able to review your configuration. A descriptive name for your custom reader will have been generated (you can change this if needed).
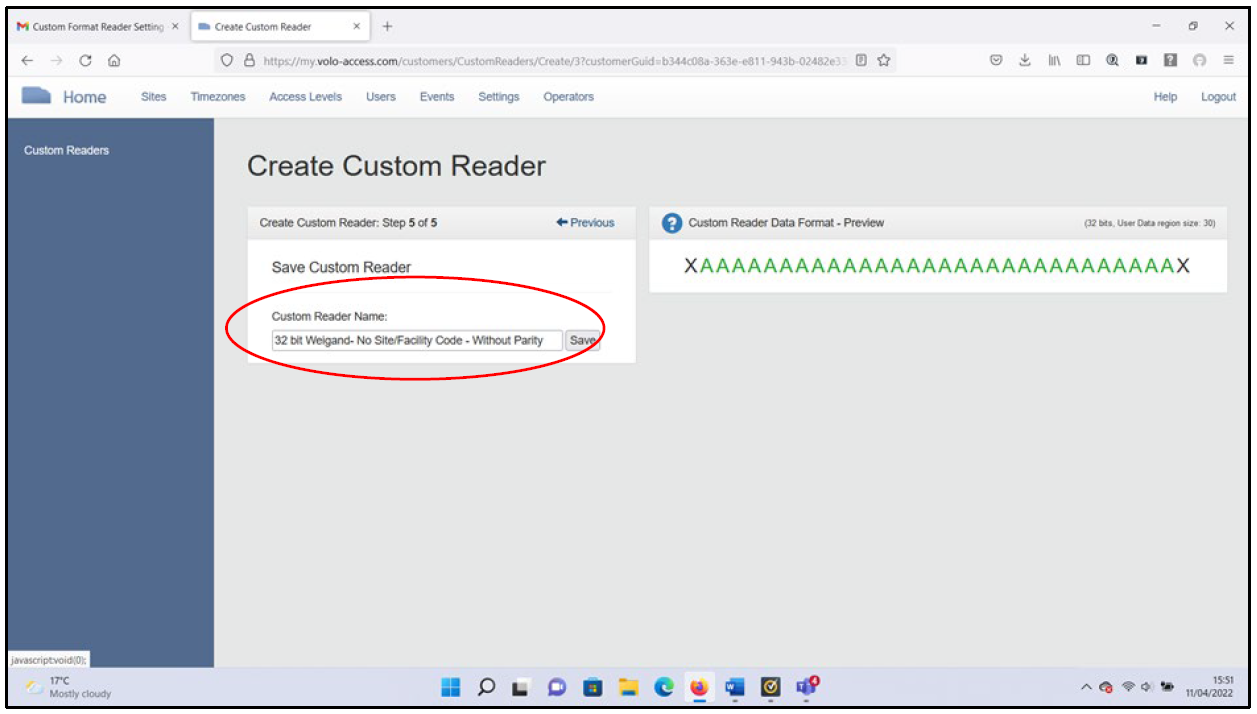
Click 'Save' and you're done!
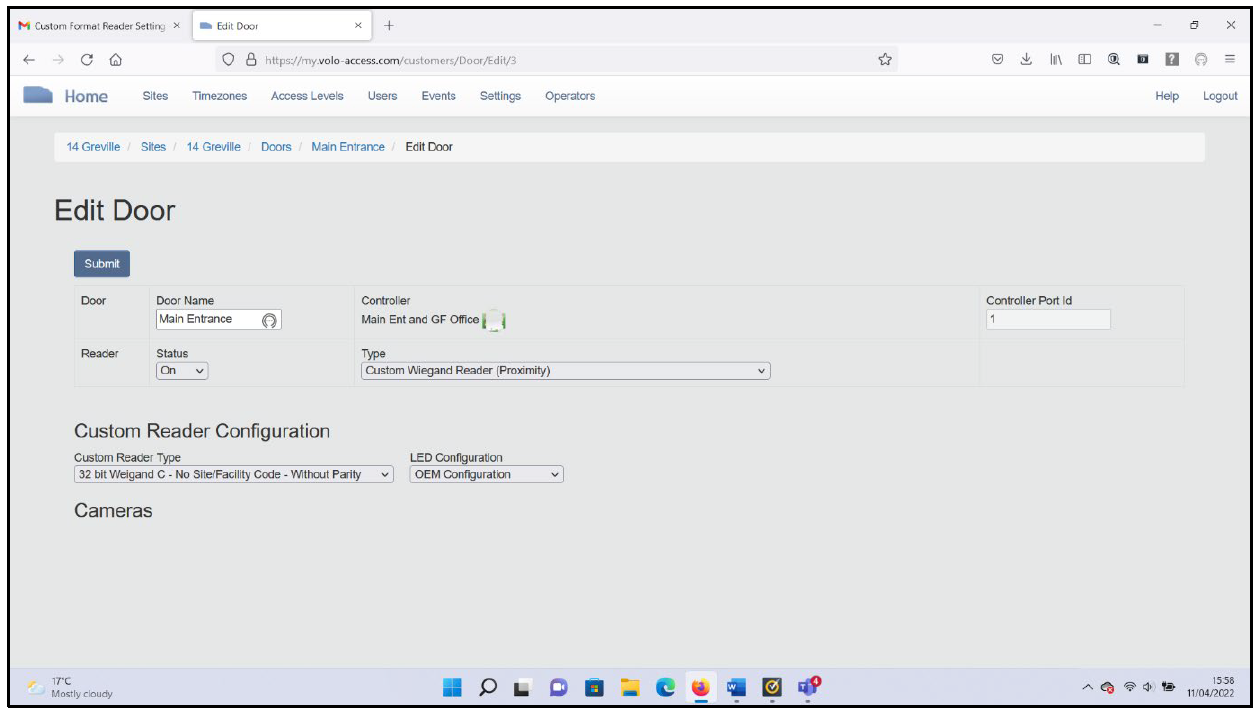
Using Your Custom Reader
Your custom reader is now available for selection within your reader settings for this customer for all future use, by selecting the custom reader option in reader types and then selecting your custom format from the additional drop down menu.